Potato grow bags are an established and reliable method for growing potatoes. They can be used in various settings such as gardens, patios, small spaces, or courtyards. This guide will provide instructions on how to plant both types of potatoes in grow bags.
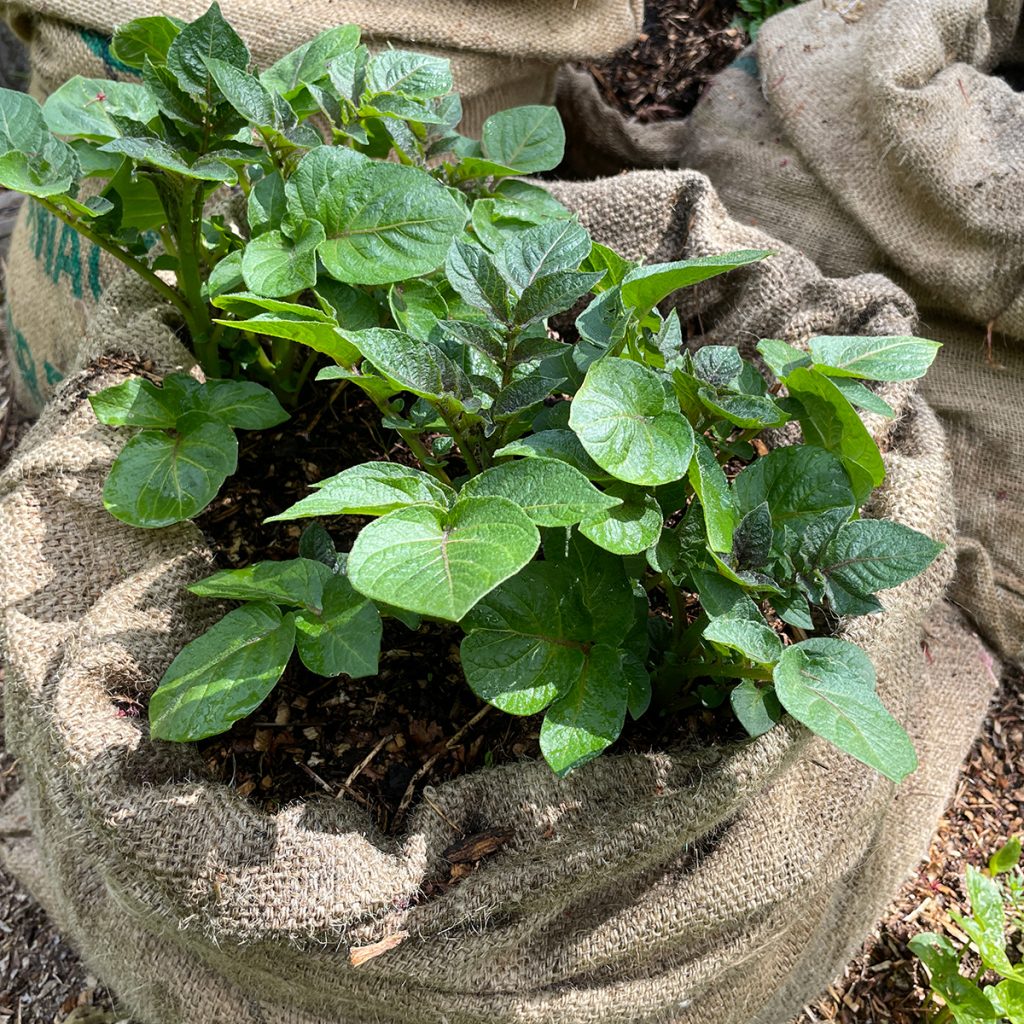
When choosing grow bags, it is advisable to opt for hessian or biodegradable bags whenever possible.
Choose the right method for your potato type
Certain types of potato plants, known as indeterminate varieties, these types produce additional roots along the stem, resulting in a higher potato yield.
To accommodate these types, it is recommended to add more growing medium as the plants grow taller.
On the other hand, determinate varieties can also be grown in bags but require slightly different treatment.
After the initial growth, a combination of soil, straw, and compost can be added to the bag. The inclusion of straw in the mixture facilitates the even and effortless growth of potato tubers.
For the first two months, a balanced fertilizer with a lower nitrogen content can be used. We typically mix this fertilizer into the soil before planting. Afterwards, switch to a lower nitrogen fertilizer. This practice is specifically for indeterminate varieties.
What you will need:
- Potato seedlings or seed potatoes.
- Large, sturdy burlap/hessian grow bags or other containers.
- Good quality potting soil.
- Fertilizer (cow manure, sheep manure, bone meal)
- Watering can or hose.
- Sunny location.
- Mulch and Plant Labels
Steps for growing potatoes in bags:
First determine if you wish to CHIT your potatoes before planting.
Determinate Varieties
- Choose a location that receives full sun
- Fill the bag with 8 inches (20cm) of soil
- Plant the potatoes at a depth of 5 cm
- As the potatoes grow, gradually ‘Hill Up’ – add more soil and straw, ensuring the growing tip remains above the soil level
- Each time you add extra soil, incorporate two handfuls of aged cow or sheep manure, as well as a portion of blood and bone
- Repeat this process 3-4 times
- Applying fish or seaweed fertilizer once a month can be advantageous
- Keep the soil consistently moist
- Wait until the plants start to wither in late summer before harvesting.
For indeterminate varieties, follow these steps:
- Select a location that receives full sun
- Fill the bag with 20 inches (50cm) of soil
- Plant the potatoes at a depth of 4 inches (10 cm).
- Once the stems have grown sufficiently, add an additional layer of 4 inches (10cm) of soil
- As the potatoes continue to grow, add more soil and straw, ensuring the growing tip remains above the soil level
- Incorporate two handfuls of aged cow or sheep manure, as well as a portion of blood and bone, each time you add extra soil
- Applying fish or seaweed fertilizer once a month can be advantageous
- Keep the soil consistently moist
- Wait until the plants start to die back or wither in late summer before harvesting. The foliage will start to yellow.
Storage: After harvesting, let the potatoes cure in a cool, dark, and well-ventilated place for a few days. Then, store them in a cool, dark location for long-term use.